Nano Banana Prompt Guide: Write Better Image Prompts
Learn a practical Nano Banana prompt structure, see four matched examples, diagnose weak results, and refine image prompts one decision at a time.
This Nano Banana prompt guide shows how to turn an image idea into a clear creative brief: define the job, name the subject and action, place them in a setting, control composition and light, choose a medium, and add only useful constraints. A strong prompt is not necessarily long. It is easy to visualize, internally consistent, and specific about the decisions that matter. Start with a complete first direction, inspect the result, then revise one or two variables instead of replacing the entire prompt. That process produces more controllable images and makes failed generations easier to diagnose.
You can apply the method in the EIMG AI Image Generator. If you need the basic generation workflow first, read How to Use Nano Banana.
When a brief needs 4K output, several reference images, and a more precision-led workflow, continue in the Nano Banana Pro image generator.
The six-part Nano Banana prompt structure
Nano Banana is the name for Google's Gemini-native image generation family, which can work with text, images, or both. Google's official image generation guide similarly emphasizes visible details such as subject, setting, light, camera angle, and style. The most useful way to apply those ideas is to treat a prompt as a small creative brief, not a bag of adjectives.
| Prompt part | Question to answer | Why it matters |
|---|---|---|
| Job | What must this image accomplish? | Establishes whether the result should behave like a product photo, portrait, thumbnail, story illustration, or another format |
| Subject and action | Who or what is visible, and what is happening? | Gives the model a clear focal point instead of several competing ideas |
| Setting | Where does the scene happen? | Controls context, supporting objects, depth, and atmosphere |
| Composition | How is the image framed? | Sets viewpoint, subject scale, placement, and usable negative space |
| Light and style | What should the image feel like and what medium should it resemble? | Shapes mood, texture, color, and finish |
| Constraints | What must be absent or preserved? | Prevents predictable errors without overloading the positive description |
This is an order of decisions, not a sentence template. A product photograph may need exact materials and label constraints. A landscape may need scale, weather, and leading lines. An illustration may need medium, palette, and brush texture. Keep the parts that change the picture; omit the rest.
Start with the job, not the adjectives
Before describing color or camera settings, decide where the result will be used and what a viewer should notice first. A product listing needs readable product geometry and a clean silhouette. An editorial portrait needs a believable person engaged in an activity. A cinematic landscape can allow the environment to dominate, provided the focal subject remains legible.
The job also resolves conflicting choices. A close product-detail crop and a wide lifestyle scene are both valid, but asking for both in the same frame weakens the hierarchy. A calm documentary portrait and a glossy beauty campaign require different lighting, posing, and surface treatment. Choose the purpose first, then make every later detail support it.
For model-specific controls such as aspect ratio and resolution, see the Nano Banana 2 generator. Keep those settings separate from the creative brief when the interface already exposes them; this makes the prompt easier to reuse.
Four worked Nano Banana prompt examples
The examples below are deliberately different. Each demonstrates a prompting decision rather than trying to become a large prompt library. Every complete prompt is paired with one distinct illustrative result so you can compare the words with the visible outcome.
For more finished briefs organized by image task, use the copy-ready Nano Banana prompt library. It adds product, food, portrait, poster, editing, figurine, storyboard, and sketch-to-render examples without repeating this structural tutorial.
1. Product photography: make materials and exclusions concrete
A commercial product prompt should identify the object, material, background, angle, light direction, and unwanted elements. Words such as “premium” only become useful when concrete choices explain what premium should look like.
Create a photorealistic 16:9 product photograph of a single amber glass facial serum bottle with a plain cream label and black dropper, centered on a pale travertine pedestal. Use soft morning window light from the left, a warm off-white plaster background, a 50mm eye-level camera angle, restrained shadows, and premium skincare campaign styling. Keep the bottle geometry straight and the label free of readable text, logos, or watermarks; include no extra products or hands.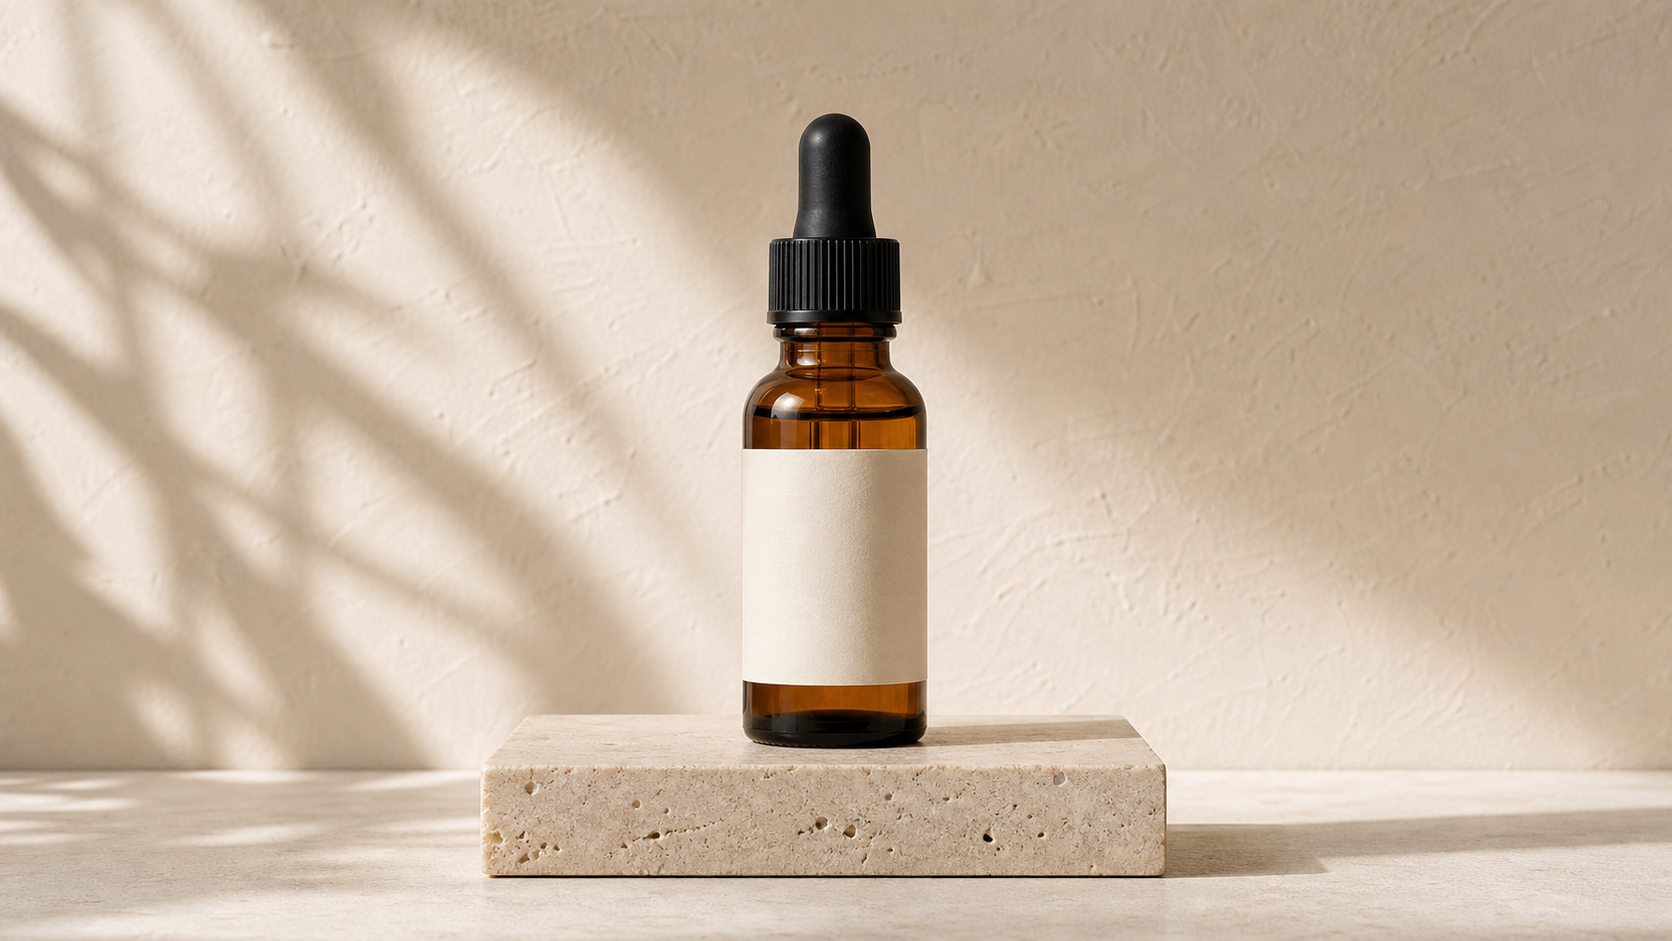
Illustrative example: the result makes the prompt's material, lighting, camera, and exclusion choices visible in one controlled product frame.
Notice that the prompt does not name a real cosmetics brand. The plain label keeps attention on geometry, glass, light, and surface texture while reducing the chance of invented brand text.
2. Editorial portrait: describe a person doing something
Portrait prompts become more believable when the subject has an action and a real environment. Activity gives the hands, gaze, posture, clothing, and props a shared purpose. It also helps prevent the default look of a posed studio headshot.
Create a candid editorial portrait of an East Asian ceramic artist in her early thirties shaping a clay bowl at a sunlit studio workbench. Frame a medium three-quarter view at eye level with a 50mm documentary lens; show natural skin texture, clay dust on her apron and hands, shelves of unfinished pottery softly out of focus, and warm late-afternoon side light. The mood is focused and calm, not posed or glamorous. No text, logos, or watermark.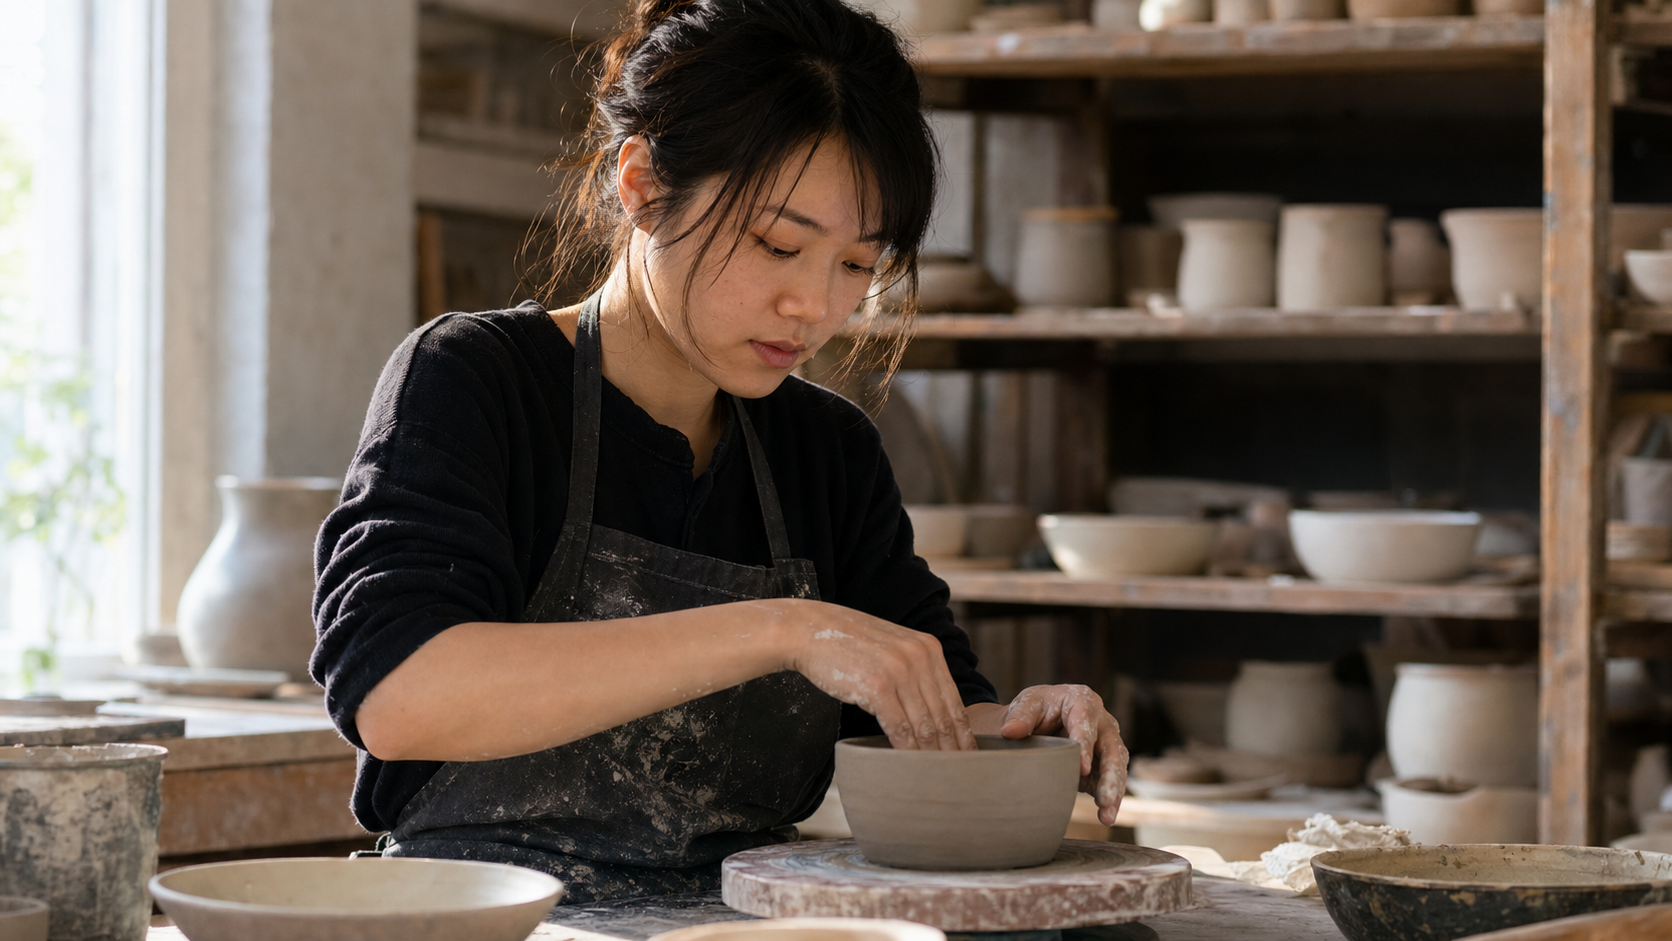
Illustrative example: action, environment, lens language, texture, and mood work together to make the portrait feel specific rather than generic.
The useful contrast is “focused and calm, not posed or glamorous.” It resolves a likely style ambiguity without attaching a long list of negative keywords.
3. Cinematic scene: control scale with composition
Wide scenes often fail because the environment overwhelms the subject. State both the intended scale and the device that keeps the focal point readable. Here, a red jacket and bridge lines perform that job.
Create a cinematic 16:9 wide shot of a lone cyclist in a red rain jacket crossing a wet steel bridge at blue hour, with a misty mountain valley behind them. Use a low camera angle, long leading lines, realistic rain, reflected cyan and amber light on the road, and restrained film grain. Keep the cyclist small but unmistakable as the focal point; no cars, no text, no logos, and no watermark.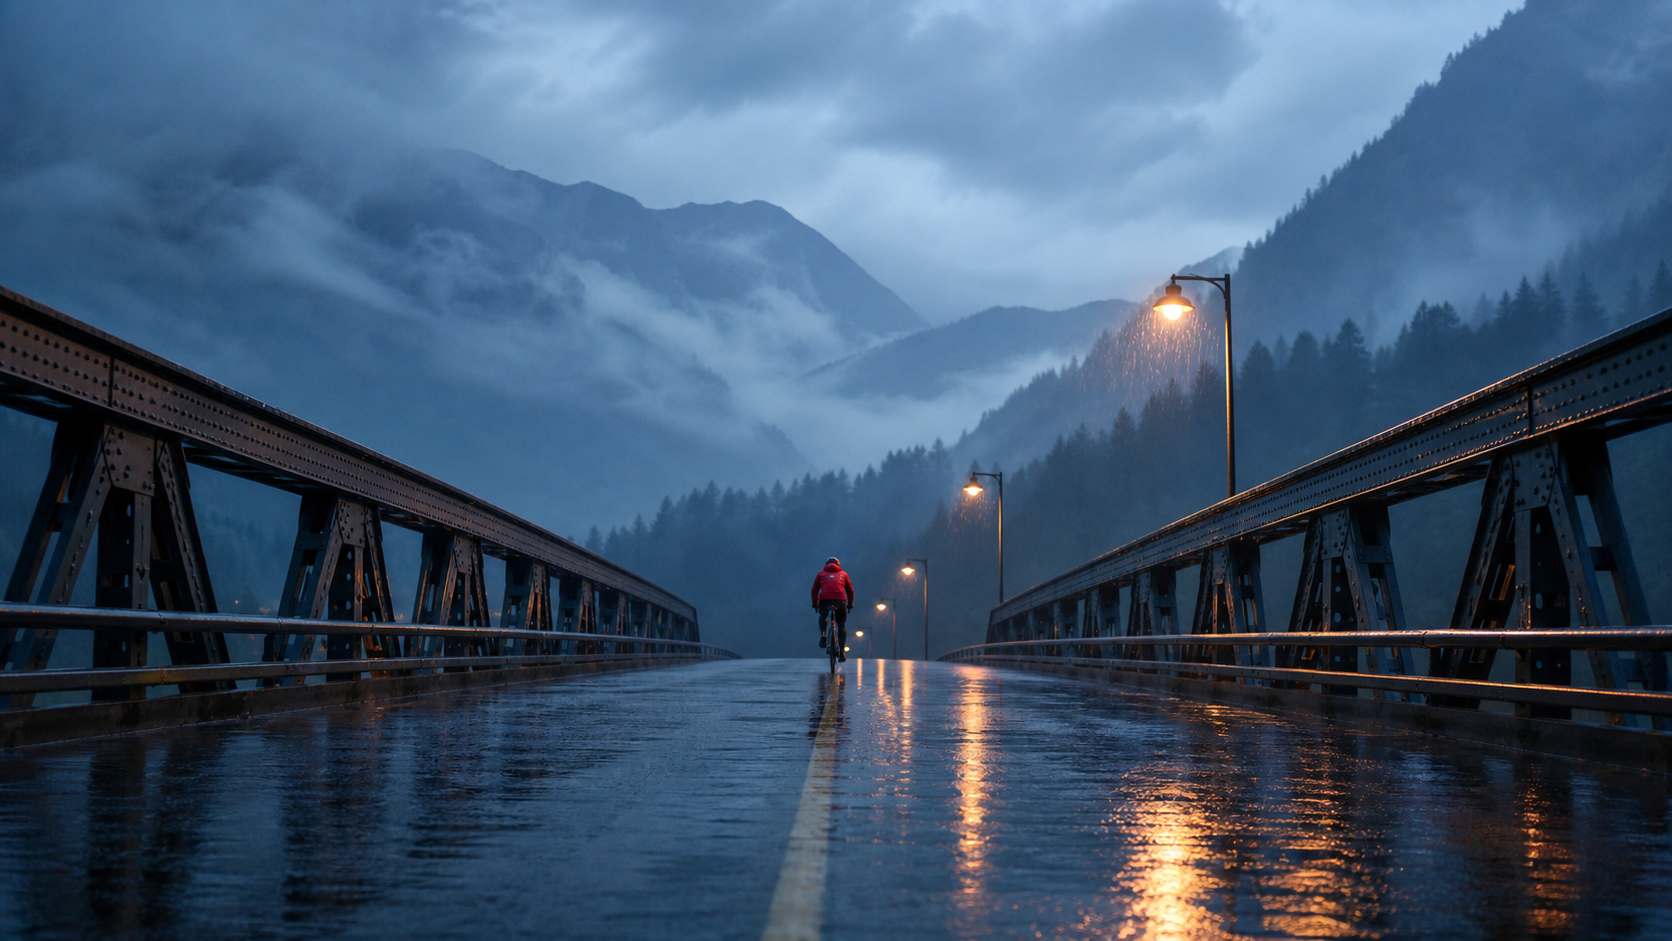
Illustrative example: explicit scale, angle, leading lines, and color contrast keep a small subject readable inside a wide scene.
The color instruction is functional rather than decorative. Red separates the cyclist from the blue environment, while amber reflections repeat the warm contrast along the route through the frame.
4. Storybook illustration: name the medium and its visible traits
Style labels can be broad. Pair the medium with qualities that should be visible: matte pigment, brush texture, a restrained palette, deliberate placement, and one motivated light source.
Create a hand-painted gouache illustration of a small midnight-blue fox carrying a paper lantern through a dense autumn forest. Show the fox in profile in the lower third, walking along a winding path; use layered rust, moss-green, and deep-teal foliage, soft lantern glow, visible brush texture, and a quiet storybook mood. Use a landscape 16:9 composition with no border, no text, no logo, and no watermark.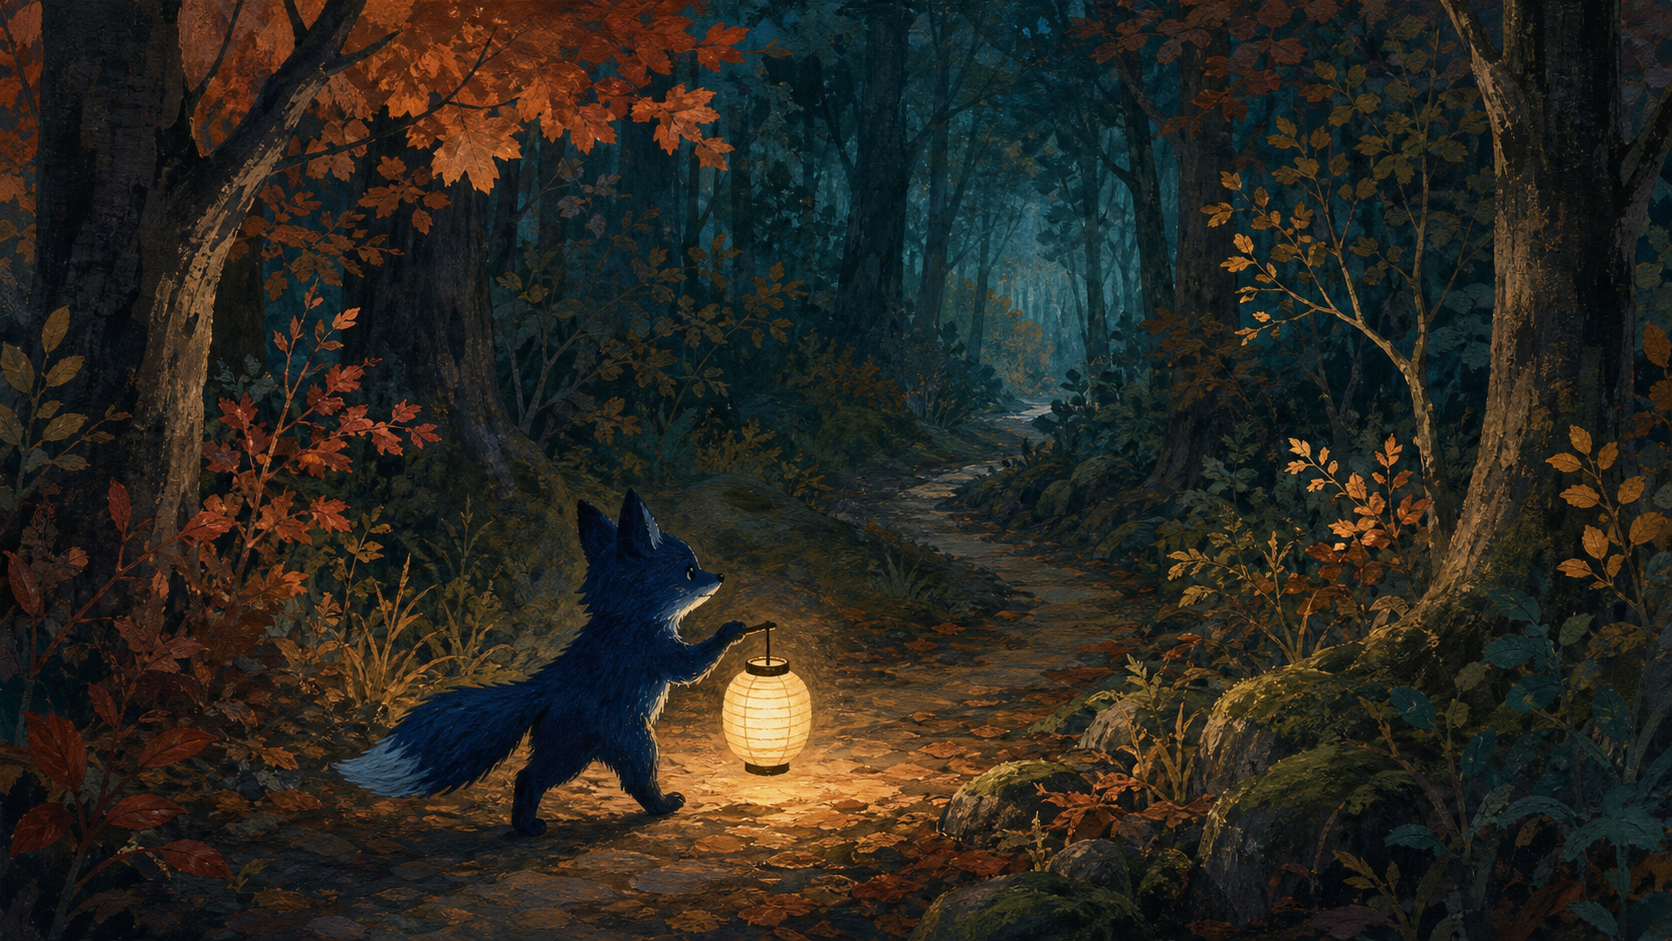
Illustrative example: a named medium, restrained palette, deliberate placement, and one light source make the storybook direction reproducible.
The prompt gives the fox one action and the scene one dominant light. That is usually clearer than combining several magical events, characters, and color effects in a single generation.
Refine one variable at a time
Google's official documentation describes multi-turn conversation as the recommended way to iterate on generated images. The practical reason is simple: a targeted change preserves a useful direction and reveals which instruction affected the next result.
Use this review order:
- Subject: Is the correct person, product, animal, or object present?
- Action: Is the subject doing the requested thing in a physically plausible way?
- Composition: Is the subject at the intended scale, viewpoint, and position?
- Environment: Does the setting support the job without distracting from it?
- Light and style: Do the mood, texture, and medium match the brief?
- Constraints: Are there extra objects, text, logos, or changed identity details?
Fix the highest item that fails. Do not spend time tuning film grain when the wrong subject is in the frame. If the image is close, preserve the successful decisions and change only the most important mismatch.
Diagnose common prompt failures
| Visible problem | Likely prompt cause | Targeted correction |
|---|---|---|
| The image looks generic | The job or visual priority is missing | Add the intended use and state what should attract attention first |
| Several objects compete | Too many subjects have equal emphasis | Choose one focal subject and demote or remove supporting objects |
| The crop is wrong | Framing is implied rather than stated | Add shot size, viewpoint, subject scale, or negative-space needs |
| The mood is inconsistent | Style words conflict with light or setting | Keep one coherent medium and one lighting direction |
| An edit changes too much | The instruction names the change but not the invariants | Specify what must remain unchanged |
| Unwanted text or branding appears | Packaging or signage invites invented details | Ask for a blank label, no readable text, and no logo when copy is unnecessary |
| More detail makes the result worse | Added phrases repeat or contradict earlier decisions | Remove low-value adjectives and preserve one clear hierarchy |
A prompt is finished when it communicates the image, not when it reaches a certain length. If two phrases describe the same mood, keep the more visual one. If a camera term does not imply an effect you can recognize, remove it.
Write editing prompts with change and preserve clauses
Image editing needs a different structure from text-to-image generation. First identify the source image. Then name the smallest requested change. Finally, list the properties that must remain stable. The image-to-image workflow is the appropriate EIMG AI entry point when the source matters.
The following are non-runnable syntax fragments for explaining the pattern; they contain placeholders and are not intended to be copied or run:
Change only [target element] to [new state].
Preserve [identity], [pose or geometry], [camera angle], [lighting direction], and [background elements that must not move].
Prioritize identity and geometry for people and products. Prioritize camera angle, perspective, and shadows for object replacement. For a color or lighting edit, explicitly preserve the scene layout. These invariants create a visible acceptance test: either the protected element stayed stable or it did not.
Apply the product brief to a reference edit
For a product-background edit, start with your own clear bottle photograph in the EIMG image editor. Identify the bottle as the subject to preserve, then describe only the new setting: warm stone, soft window light and open space beside the product. Specify that the bottle silhouette, cap, label wording and camera angle should stay unchanged. Do not combine a new background, a new package design and a different viewpoint in the first attempt; those requests make it harder to tell which instruction caused an unwanted change.
Select a model and review the available aspect ratio, resolution and credit cost before generating. For Nano Banana Pro, the model page explains the controls available in that workspace. Inspect the label at full size and compare the bottle edges with your source before using the result. The illustration earlier in this article explains a visual direction; it is not a recorded before-and-after test of this editing brief.
Apply the portrait brief to a focused change
Use a portrait you have permission to edit. Ask for a different background while preserving the person's face, hairstyle, clothing, pose and light direction. If you add a second reference, state whether it supplies the setting or the visual style; otherwise the model may borrow unwanted details from it. Compare eyes, glasses, jewelry and clothing seams with the source, then narrow the follow-up instruction to the part that changed incorrectly. Multiple reference images guide a composition; they do not automatically create a separate edit for every uploaded photo.
Nano Banana prompt checklist
Before generating, read the prompt once and confirm:
- The image has one clear job.
- The main subject and action appear early.
- Supporting objects have a reason to exist.
- The setting, framing, and subject scale agree.
- Lighting and style describe one coherent visual direction.
- Constraints prevent likely errors without dominating the prompt.
- Any edit names both the change and the invariants.
- The prompt contains no unnecessary brand names or conflicting styles.
- You know which single variable you will revise if the first result misses.
If you are still learning the tool itself, What Is Nano Banana? explains the broader image-generation and editing workflow. For a gallery-based starting point, browse the Nano Banana prompts page, then rewrite the chosen idea around your own subject and use case.
Frequently asked questions
What is the best prompt format for Nano Banana?
The best Nano Banana prompt format begins with the image's job, then describes the main subject and action, setting, composition, lighting or style, and only the constraints that matter. This order gives the model a clear visual hierarchy without turning the prompt into a keyword list.
How long should a Nano Banana prompt be?
A Nano Banana prompt should be long enough to remove important ambiguity, but no longer. Many useful prompts fit in two to five sentences. Add details that change the visible result, and remove adjectives that repeat the same idea or introduce competing styles.
Do camera and lighting terms improve Nano Banana prompts?
Camera and lighting terms help when they express a real visual decision. Framing, viewpoint, lens feel, light direction, and time of day can control scale and mood. Technical vocabulary is not automatically better; use only terms whose visible effect you understand.
How do I preserve a person or product while editing an image?
Name the element to change and the elements that must remain invariant. Preserve identity, proportions, pose, camera angle, lighting direction, materials, or label layout when those details matter. A narrow edit instruction is usually easier to evaluate than a broad request to redesign the whole image.
Why does Nano Banana ignore part of my prompt?
A prompt is often ignored when it contains conflicting instructions, too many focal points, vague relationships, or constraints buried after decorative language. Put the main subject and action first, remove conflicts, and revise one high-impact variable before adding more detail.
Can I use the same prompt with different Nano Banana models?
Yes. A clear prompt is a useful starting point across Nano Banana models, but the exact result can vary with model capability, aspect ratio, reference images, and generation settings. Keep the creative brief stable when comparing models so you can judge the model rather than a rewritten prompt.
Put the framework into practice
Open the EIMG AI Image Generator, choose one real image job, and write the first prompt from the six decisions in this guide. After generation, compare the result in the same order—subject, action, composition, setting, light, style, and constraints—then make one targeted revision.
Author
Categories
More Posts

What Is Nano Banana? AI Image Generator Explained
Learn what Nano Banana is, how it works, who it is best for, and how creators use it for AI image generation, editing, product photos, and social media.
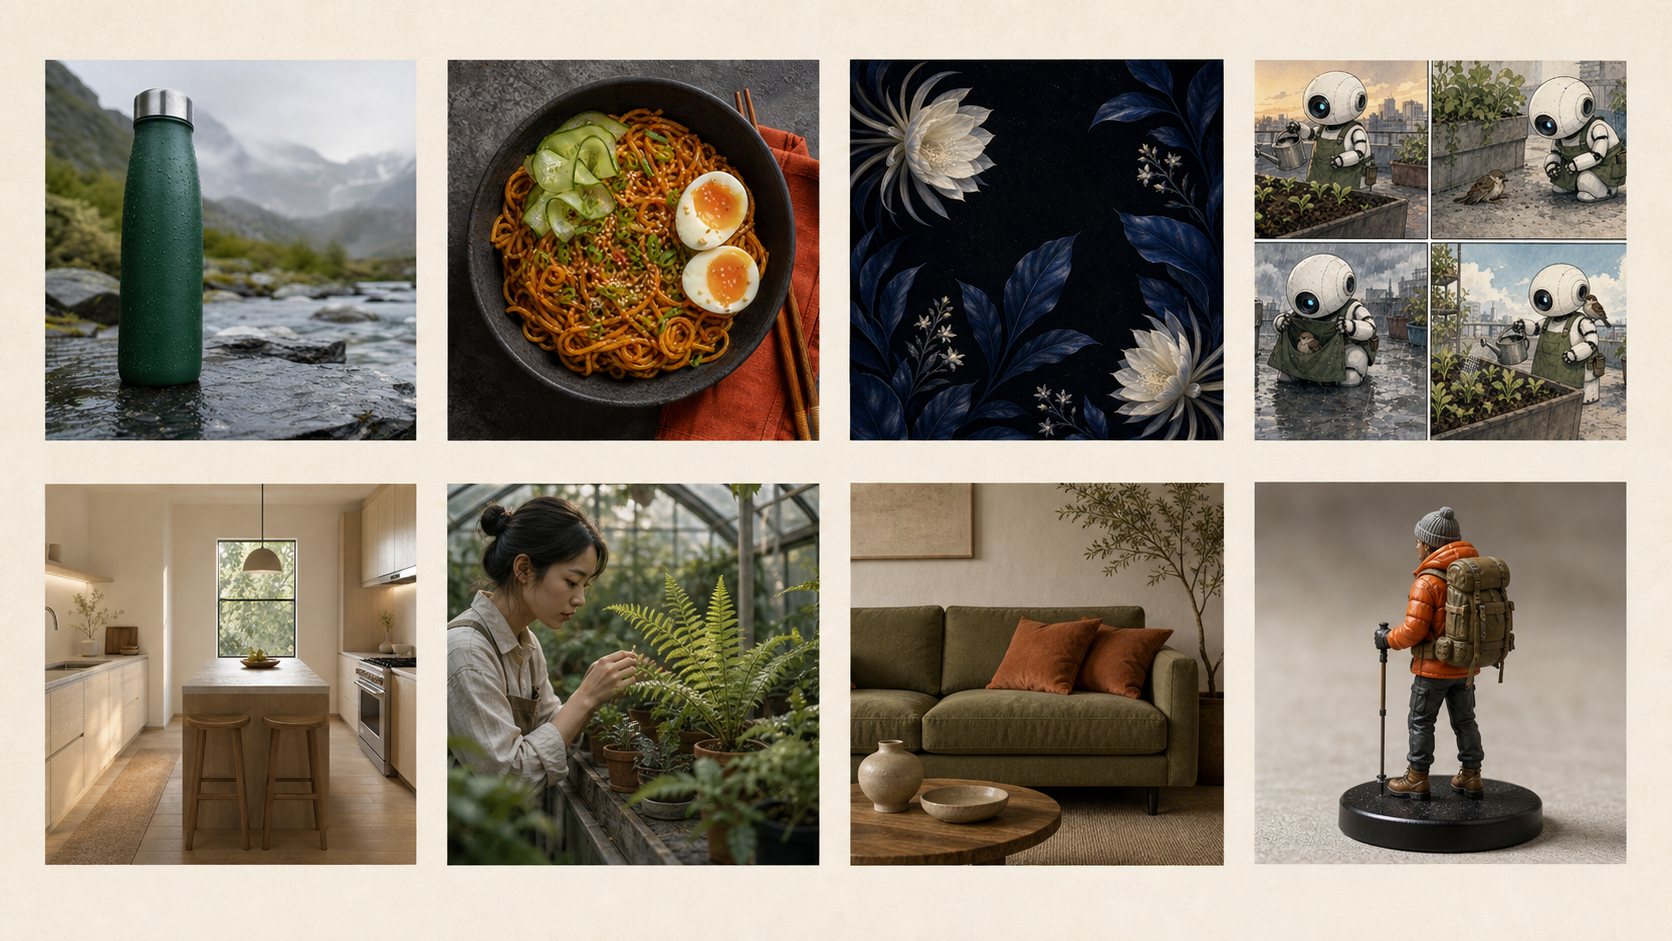
8 Best Nano Banana Prompts for Images and Photo Edits
Copy eight of the best Nano Banana prompts for product photos, portraits, posters, interiors, figurines, storyboards, and sketch-to-image edits.
How to Use Nano Banana: Step-by-Step AI Image Guide
Learn how to use Nano Banana to create AI images, edit photos, write better prompts, refine results, and build visuals for product, social media, and design work.
Newsletter
Join the community
Subscribe to our newsletter for the latest news and updates